Create Custom ISO using PinguyBuilder
Steps to setup the base OS
Download and Install VM Ware Player: https://www.vmware.com/products/player/playerpro-evaluation.html
OR
Download and Install VirtualBox : https://www.virtualbox.org/wiki/Downloads
To build a new custom ISO from the official Ubuntu image, download the official Ubuntu version from here: https://releases.ubuntu.com/ and install it in VMWare/VirtualBox.
Custom Ubuntu ISO from official Ubuntu16.04
Install some basic Ubuntu packages:
sudo apt-get clean && sudo apt-get -y update
sudo apt-get -y install acl bsdiff busybox bzip2 curl
sudo apt-get -y install dos2unix doxygen gawk g++-4.8 gcc-4.8 gdbserver genext2fs git graphviz
sudo apt-get -y install lcov libbluetooth-dev libffi-dev libnl-genl-3-dev libssl-dev
sudo apt-get -y install make ninja-build python samba unifdef unzip vim wget zlib1g-dev
sudo apt-get -y install vim minicom telnet binutils putty samba
sudo apt-get -y install build-essential chrpath coreutils cvs desktop-file-utils diffstat docbook-utils fakeroot g++ gawk gcc git git-core help2man libgmp3-dev libmpfr-dev libreadline6-dev libtool libxml2-dev make python-pip python-pysqlite2 quilt sed subversion texi2html texinfo unzip curl
sudo apt-get -y install g++ diffstat texi2html gawk chrpath texinfo busybox bison
sudo apt-get -y install libexif-dev libexif12 libjpeg-dev libsqlite3-dev libid3tag0-dev libflac-dev libvorbis-dev libavformat-dev libdlna-dev intltool
Install python 3.7:
wget https://www.python.org/ftp/python/3.7.4/Python-3.7.4.tgz
tar zxf Python-3.7.4.tgz && cd Python-3.7.4
sudo ./configure
sudo make install
cd .. && sudo rm -Rf Python-3.7.4*

# To check the installed python3 version
python3 --version
Install CMake:
wget https://cmake.org/files/v3.21/cmake-3.21.1-linux-x86_64.tar.gz
tar zxf cmake-3.21.1-linux-x86_64.tar.gz
sudo cp -a cmake-3.21.1-linux-x86_64/bin/* /usr/bin
sudo cp -a cmake-3.21.1-linux-x86_64/share/cmake-3.21 /usr/share
rm -Rf cmake-3.21.2-linux-x86_64*

# To check the installed cmake version
cmake --version
Install Clang
sudo apt-get -y install clang-6.0 clang-tools-6.0
Install JDK:
sudo apt-get -y install openjdk-8-jdk openjdk-8-jre

# To check the installed JDK version
java -version
Setup Eclipse IDE:
Download "Eclipse IDE for C/C++ Developers" for Linux from here: https://www.eclipse.org/downloads/packages/
Eclipse IDE may not work properly if wrong version of gtk is installed on the system. Make sure correct version of gtk is installed for the Eclipse IDE. https://www.eclipse.org/swt/faq.php#gtkstartup
Run below command in the terminal to check the gtk version installed:
dpkg -l libgtk2.0-0 libgtk-3-0
cd Downloads/

# Untar the downloaded package
tar -zxvf <downloaded_eclipse_pkg.tar.gz>

# Move the eclipse folder to /opt folder
sudo mv eclipse /opt

# create a desktop file
sudo gedit /usr/share/applications/eclipse.desktop
Add the following text to the file and save it.

[Desktop Entry]
Name=Eclipse
Type=Application
Exec=/opt/eclipse/eclipse
Terminal=false
Icon=/opt/eclipse/icon.xpm
Comment=Integrated Development Environment
NoDisplay=false
Categories=Development;IDE;
Name[en]=eclipse.desktop


# Install the desktop file
sudo desktop-file-install /usr/share/applications/eclipse.desktop

# Create a symlink
cd /usr/local/bin
sudo ln -s /opt/eclipse/eclipse
Install Astyle 3:
wget https://sourceforge.net/projects/astyle/files/astyle/astyle%203.1/astyle_3.1_linux.tar.gz/download
tar zxf download && rm download
cd astyle/build/gcc
sudo make && sudo make USER=root install
cd ../../.. && sudo rm -Rf astyle

# To check the installed version
astyle --version
Setup/Update EdgeCore SDK (/usr/local/oecore-x86_64/):
If previous toolchain is already present then remove it first and then run below commends to install the latest toolchain
sudo rm -rf /usr/local/oecore-x86_64
unzip mdm9207-toolchain-44-a6084aec1a958bb07ae1706037deb7dff54652ba.zip
sudo ./oecore-x86_64-armv7a-vfp-neon-toolchain-nodistro.0.sh -y
rm -f oecore*.manifest oecore*.sh mdm9207*.zip
Updating ISO version and Release Notes:
Get the release notes and isover.sh from the old custom ISO and add them to their respective paths. Copy release notes in /opt/releaseNotes.txt and isover.sh in /usr/bin/isover.sh. Update both using below commands.
sudo gedit /opt/releaseNotes.txt
Update the release notes with latest information.
sudo gedit /usr/bin/isover.sh
Update the the iso version in the shell script
source /usr/bin/isover.sh
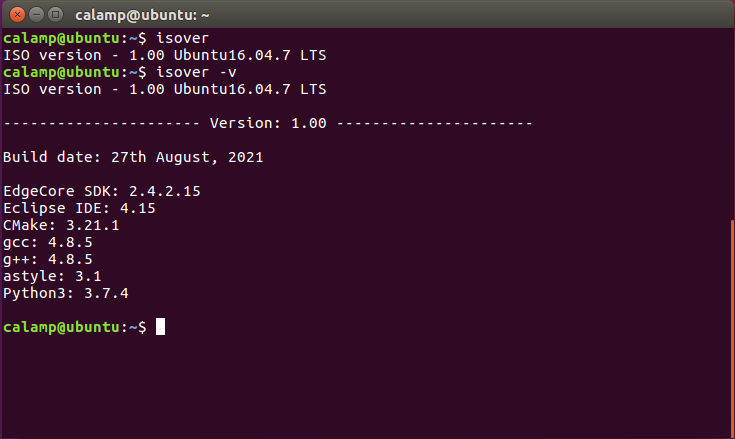
After this try below commands in the terminal to check if ISO version and release notes are displayed correctly.
How to install PinguyBuilder in Ubuntu
Download PinguyBuilder installable from: https://sourceforge.net/projects/pinguy-os/files/ISO_Builder/pinguybuilder_4.3-8_all-beta.deb/download
sudo apt-get -y install gdebi
cd Downloads/
sudo gdebi pinguybuilder_4.3-8_all-beta.deb
How to generate new Ubuntu ISO image using PinguyBuilder
Make sure all the necessary tools and packages mentioned in the list are installed.
- Go to Applications→PinguyBuilder.
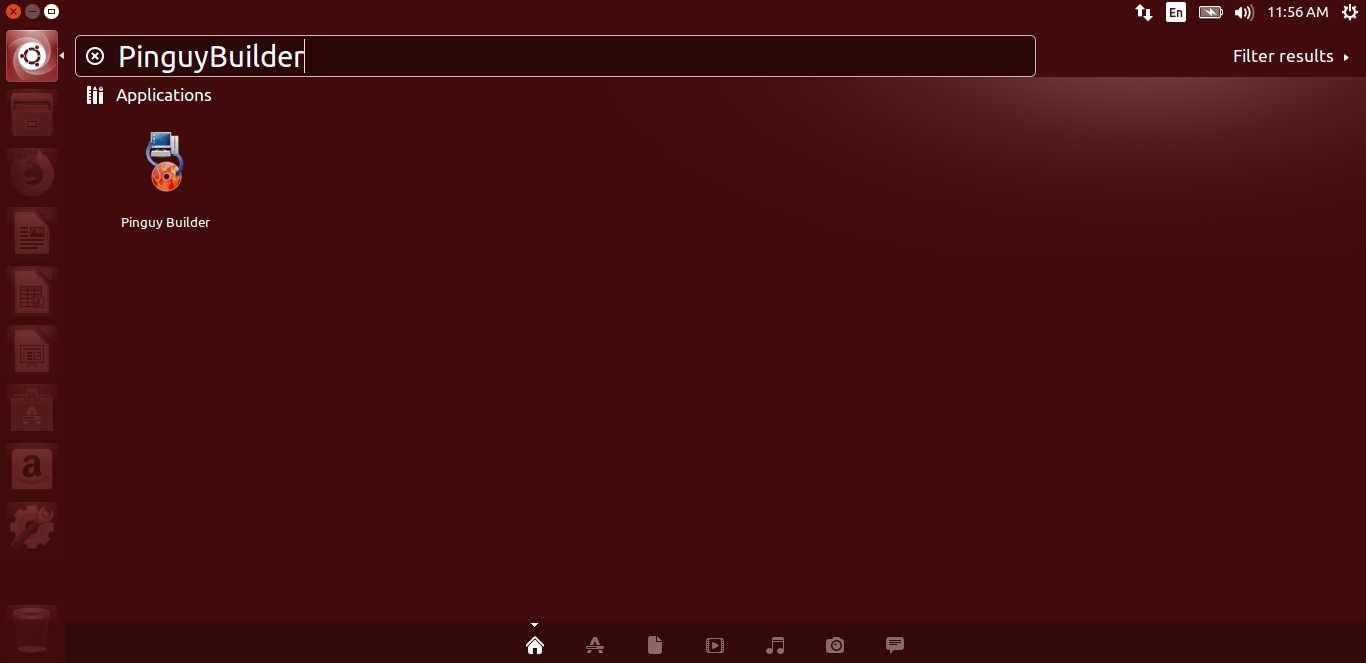
- Unmount all the share drives in your environment using the Linux command 'umount <drive_path>'.
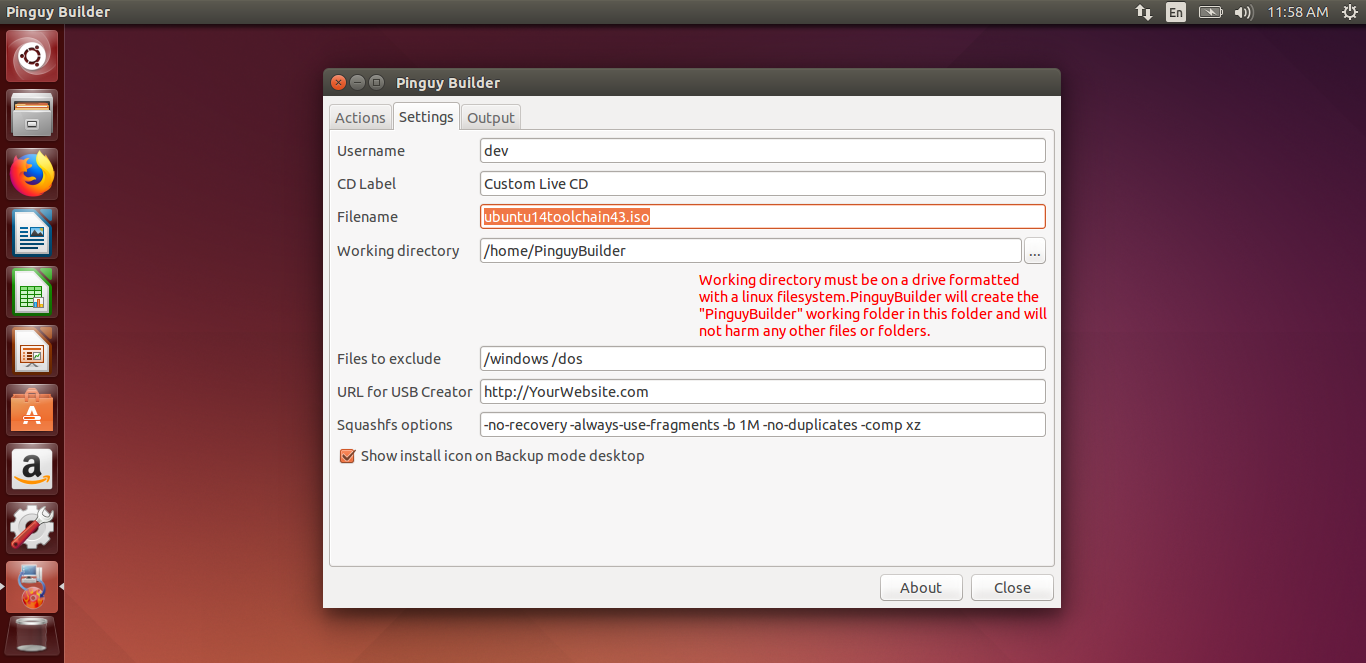
- Go to Settings and update the ISO filename and the working directory for ISO generation. Nevertheless, you can rename the ISO after it is created too.
- Go to Actions and choose 'Dist' option to make a distributable iso.
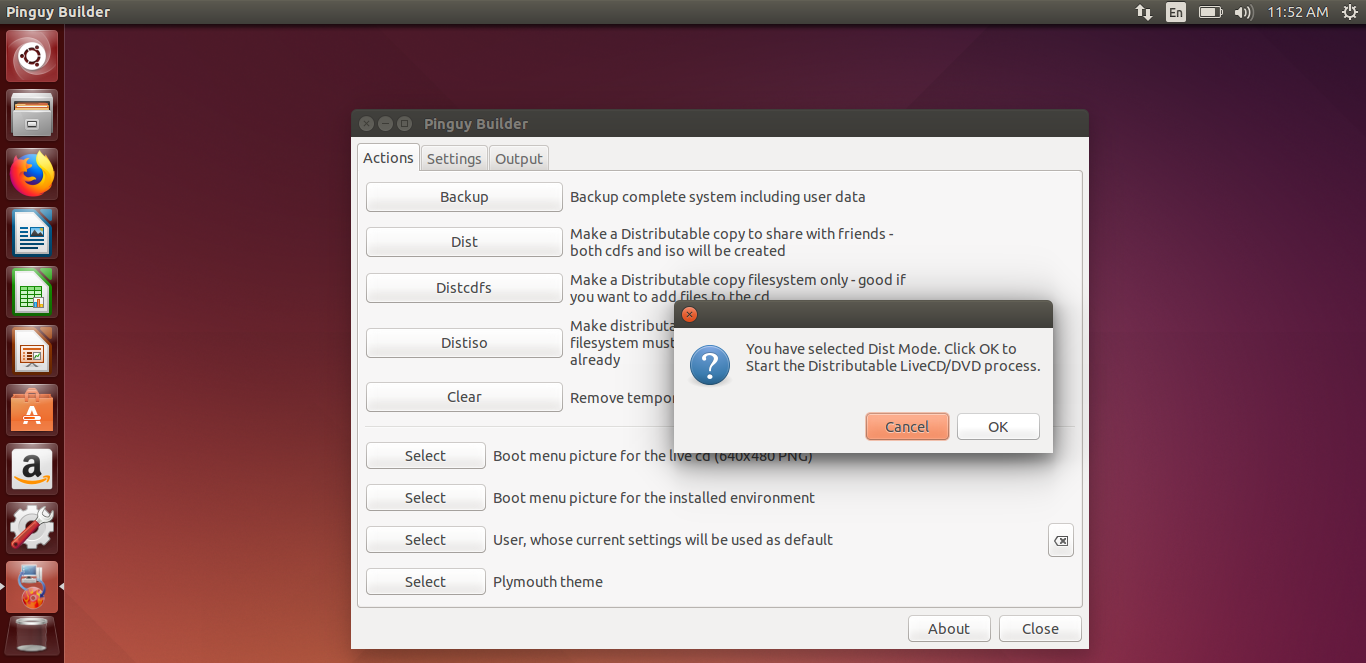
- Click 'OK' to start ISO generation process. The process will take a while. Initially it will cleanup the temporary files and any unwanted libraries. Then it starts copying the filesystem.
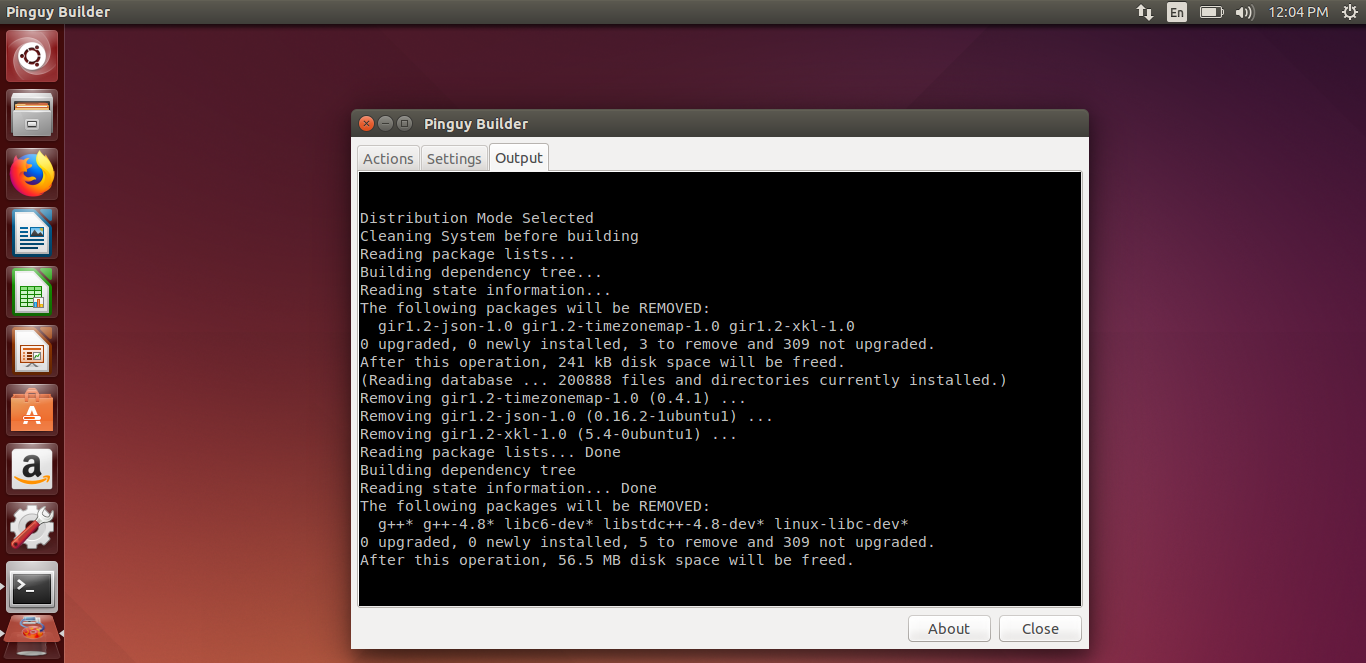
- Incase you want to add or delete any libraries during this process, you can edit the PinguyBuilder script located at /usr/bin/PinguyBuilder
Pinguy Builder version 4.3.8 seems to remove g++ packages when creating ISO so make sure to comment out below line in the Pinguy Script located at /usr/bin/PinguyBuilder if you want to include this package in the custom ISO
dpkg -l 'linux-' | sed '/^ii/!d;/'"$(uname -r | sed "s/(.)-([^0-9]+)/\1/")"'/d;s/^[^ ] [^ ] ([^ ])./\1/;/[0-9]/!d' | xargs apt-get -y purge
- The generated ISO file is placed in working directory mentioned in Settings. By default, it is placed at /home/PinguyBuilder/PinguyBuilder.
- Another way to create the ISO is , choose 'Distcdfs' first. The PinguyBuilder will generate the filesystem for the ISO. Now, you can add files to the filesystem if you want any. Then click 'Distiso' to generate the ISO.
